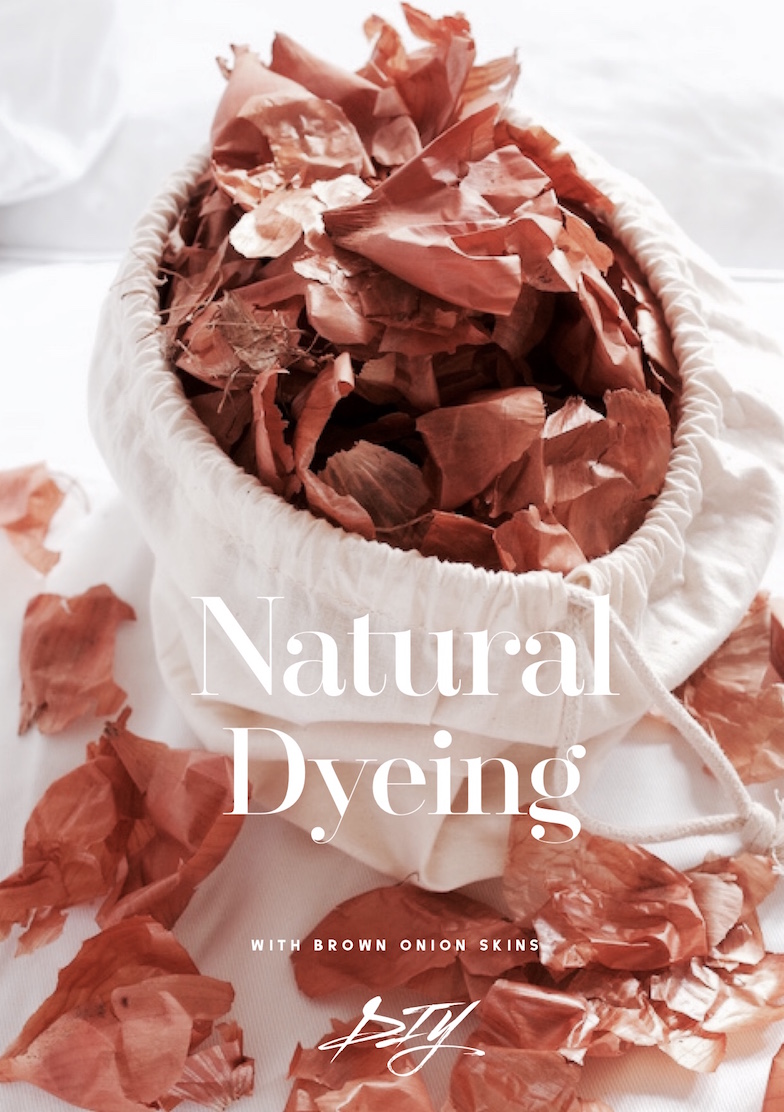
 Mother nature has always been our greatest muse, effortlessly creating incredible color like it ain’t no thing, sadly though we humans have strayed from her simplicity. There was a time when natural dyeing was the norm, with no end to what the flower, plant, vegetable and even insect world could whip up. Locally grown, readily available and completely organic was the name of the dyeing game and it’s one that dates back 5000 years and beyond. Back then there was no such thing as synthetic, everything was gloriously slow and done by hand. Cue the mid 19th century industrial revolution and our disconnect, suddenly polyester was propelled into the spotlight and of course we ‘needed’ synthetic dyes full of dangerous chemicals to service the demand, a time old tradition was tossed aside. So it was with much interest when I discovered brown onion skin dye whilst searching for a specific color I wanted for my bridesmaids gowns. Thank you Fragmentario
It took me back to my childhood and I was thankfully reminded of my clever Mumma doing all manner of things with tea, coffee, leaves and flowers to transform her garments…I was hooked! Now I’m no expert but I’ve certainly been having a tonne of fun experimenting, so I thought I’d share how to do it!
BROWN ONION SKIN DYEING METHOD
- Ask your local grocer to collect brown onion skins for you, seriously they thought I was a little strange at first but when I showed them what I wanted to do they were fascinated and glad to help! You don’t need a lot, just a good couple of handfuls will do.
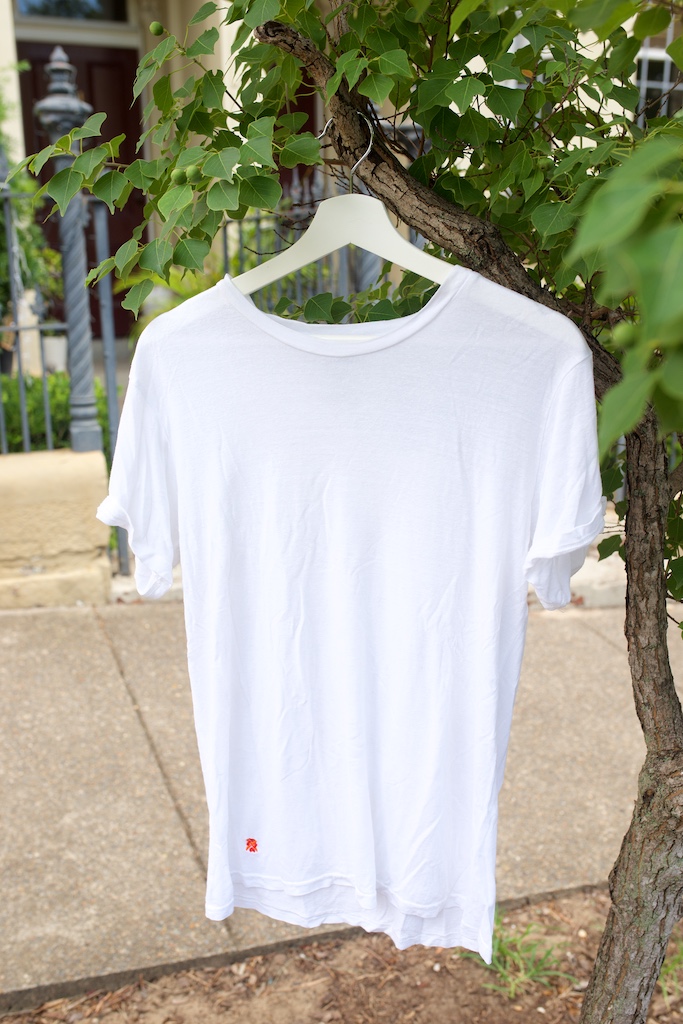
2. Select the item you would like to dye and make sure its a natural fibre – silk, linen or organic cotton like my Kusaga tee.
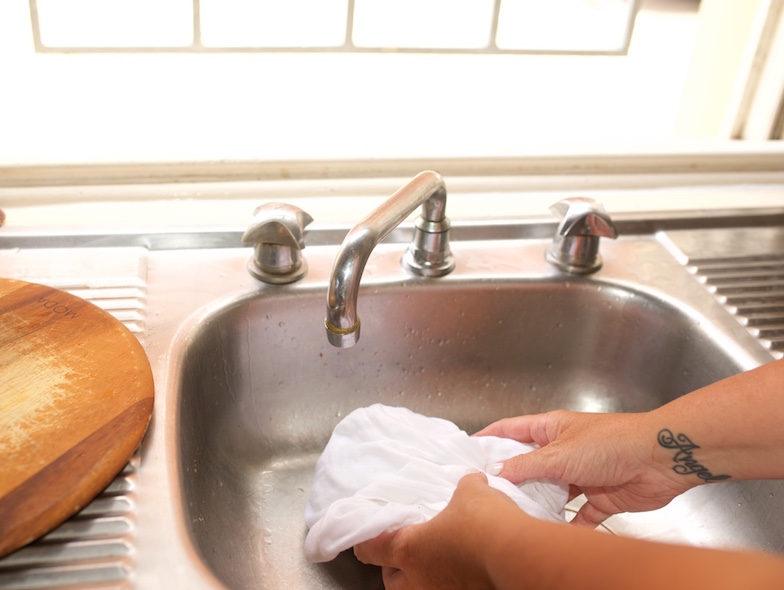
Give it a good rinse under the tap, wring it out then set it aside.
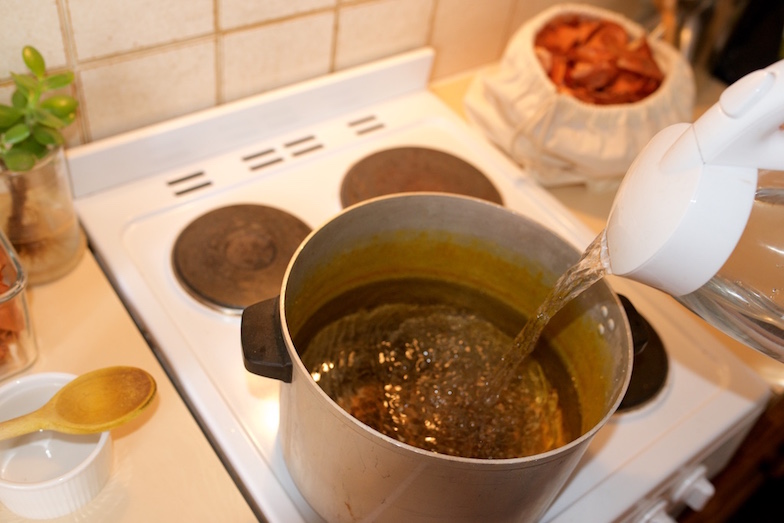
3. Fill a large sized pot with boiling water and turn the stove on to get it bubbling away.
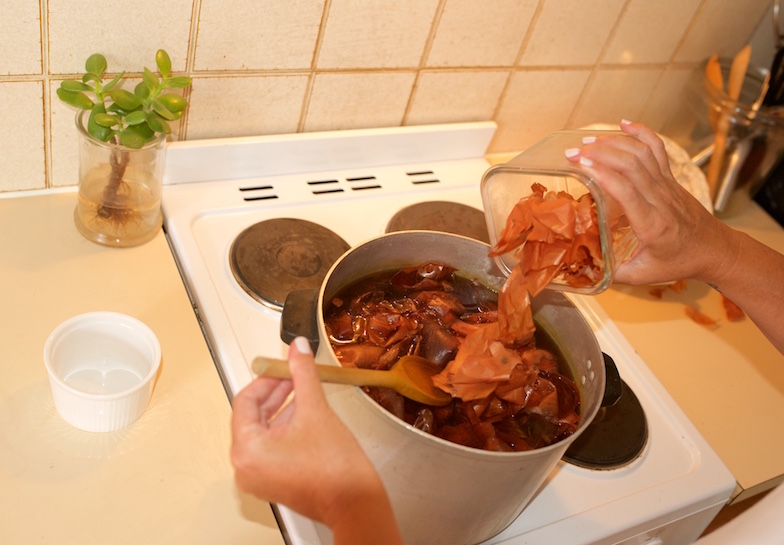
4. Once boiling turn it right down and add the onion skins, you’ll see the color of the water change pretty quickly to a deep burgundy. Let them simmer in the pot for about an hour, stirring occasionally.
5. Remove the skins with tongs, or if you prefer pour the dye through a strainer to seperate them. I added them to another pot to cool down and then they went in my bokashi bin (compost)
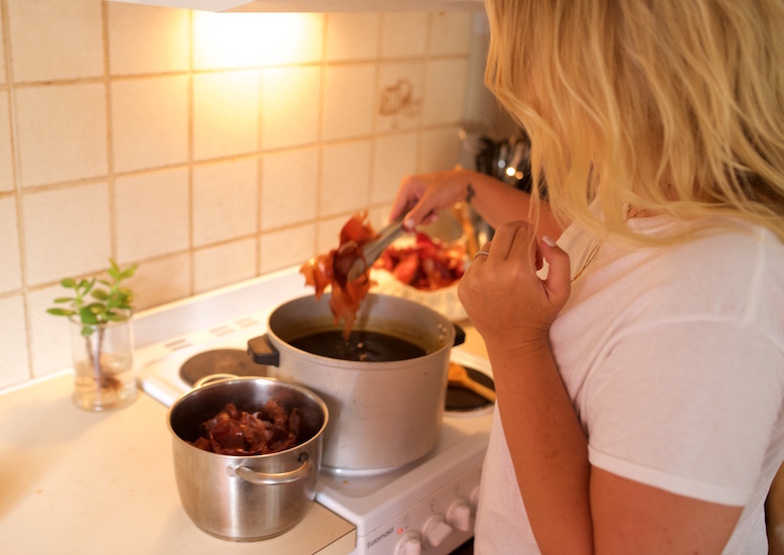
6. Keep it on the simmer and add your garment in! The color takes right away, so if you want it on the lighter side submerge it for around 20 mins/half an hour. If you want a deeper shade leave it for an hour or two.
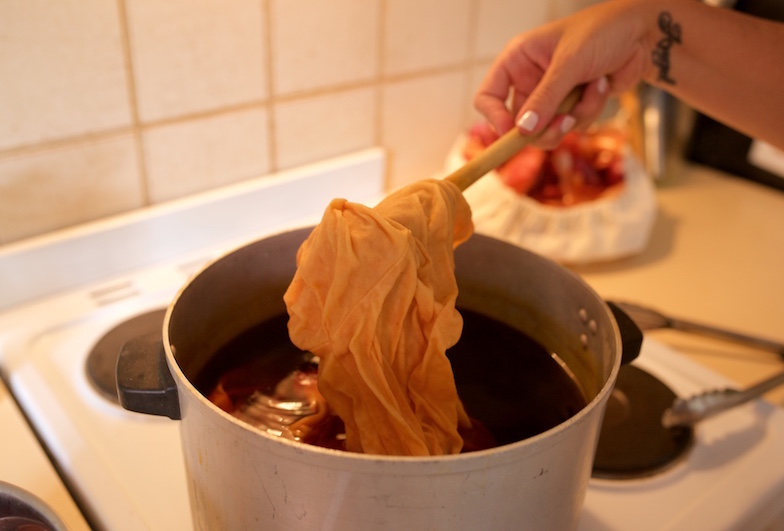
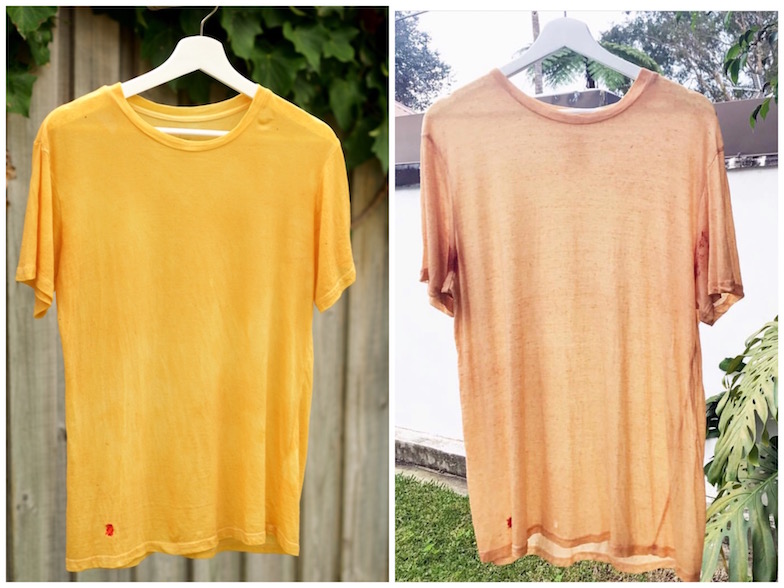
7. Rinse it until the water runs clear and hang it out to dry. The sun will set it. Each time you do it, it will be a slightly different tone depending on time, strength and in my case on this round, a few ring ins! The result from this batch is on the left. I actually had a few red onion skins sneak in, but was keen to see what happened. It ended up being a more mustardy tone. The first time I did it, it was just the brown onion skins and that produces more of a peachy hue. I love them both and also love that you never really know how it will turn out, half the fun is in the surprise. You can reuse the dye for other items or if you are done, simply share it with your garden, it’s all natural so won’t hurt a thing.
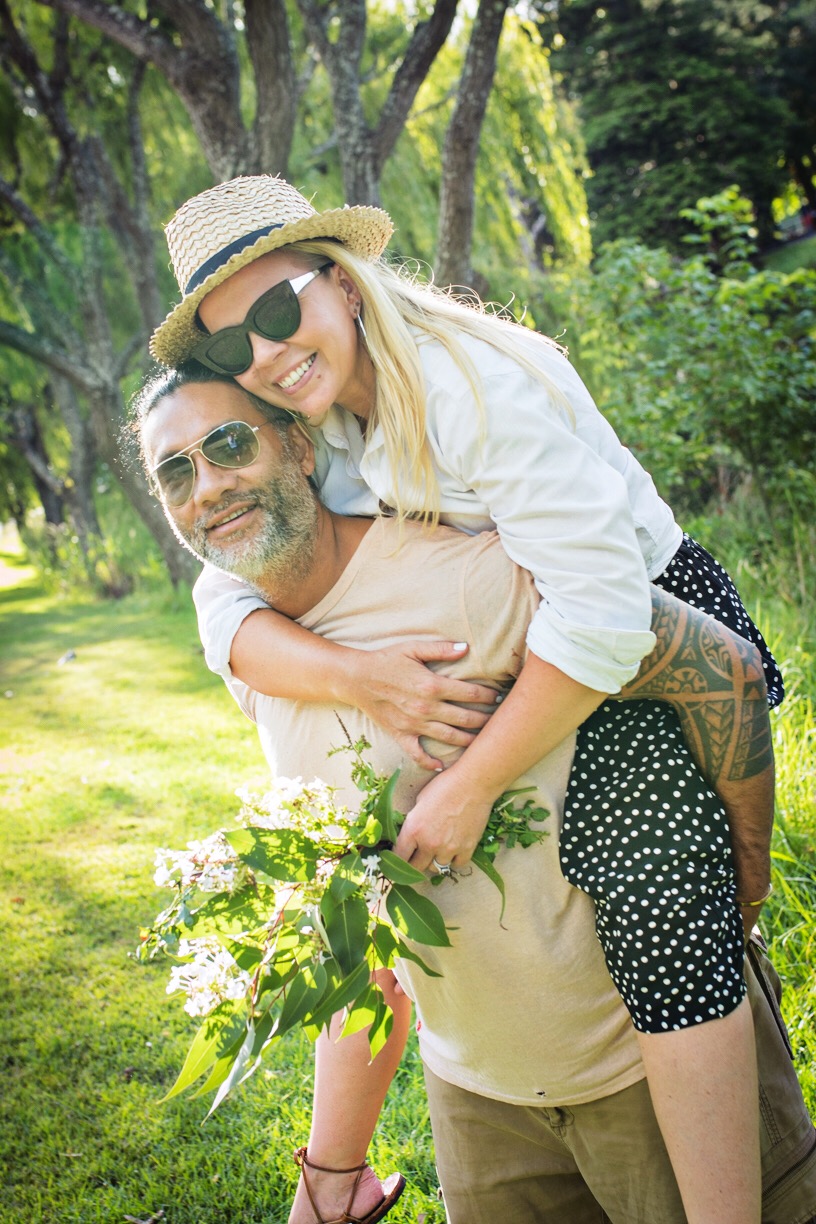
My beloved Lee wearing his onion skin tee. The color on his has slightly faded over time, but I just dyed it again. I think you can use a mordant like vinegar to set it, but I haven’t bothered.
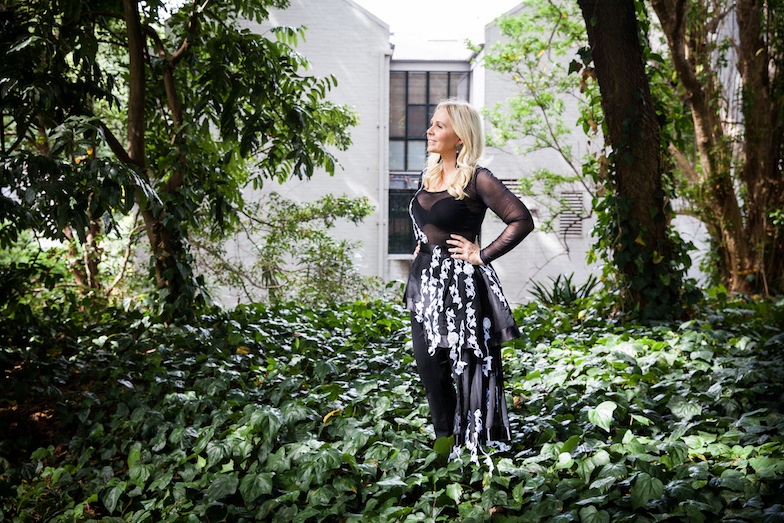
My gorgeous bridesmaids (best friend Karen on the left and my sister Sarah on the right) wearing their organic silk satin dresses loving hand dyed with brown onion skins by my designer Lenka Couture, didn’t she do an incredible job. The copper/peachy tones are so delicious and one of a kind….and no don’t worry, it doesn’t smell!!
Give it a try it’s so much fun.
Next on my list is dyeing with Avocados and guess what!? It’s not the skin but the seed that holds a stunning dusty pink color, seriously mother nature is so cool. 
Thank you to my friend Bryan ‘B‘ for the great photos.